|

How to Understand Pouches Like an Intern
TLDR
Designing Pouches Doesn't Have To Be Complicated.
Designing a pouch really comes down to five simple decisions: material, finish, closure, hang hole, and tear notch. I'll walk you through each step so you can confidently create your pouch.
When I started as an Intern, I quickly realized that not only does packaging have its own language but it is its own world.
Gusset, metallized, tear notch, high barrier film… yeah, I was lost too.
Not everyone has an expert to explain these things in depth, but don’t worry that’s why I’m here. By the end of this blog you’ll understand everything you need to know about ordering your pouches.
Like an intern, of course.
I’ll walk you through the process in the order of how you design your pouch and if it seems overwhelming just follow along with this blog.
We’ll start out with material, since that’s usually the first important decision. Different products need different levels of barrier protection, shelf appeal, and visibility.
Think about what matters most for your product — do you want customers to see what’s inside, or is protecting freshness from moisture and oxygen the bigger priority?
Step 1: Material
| Materials | Benefits | Product |
|---|---|---|
| Clear | Product Visibility (Window) | Jerky, Trail Mix, Dried Fruit |
| White | Vibrant Color | Supplements, Frozen Food, Powders |
| Metallized | Metallized barrier offer the highest protection against moisture, oxygen and odor control | Coffee, Protein Powder, Sensitive Skin Care Products |
Now that you’ve decided on your material you’ve already completed the bulk of the decisions. (Yes — it’s really that simple)!
Step 2: Finish
After choosing your material the next thing to think about is how you want the pouch to look and feel.
The finish you chose doesn't usually affect the protection of your product however it does influence shelf appeal and how your brand is viewed.
- Gloss Lamination: A shiny finish for a polished look. You may choose this if you are going for a vibrant or lively look.
- Matte Lamination: Soft touch, elevated shelf appearance. Matte may be your choice if you are looking for a polished or premium appearance.
Now that you have designed the look and feel let’s talk functionality.
Step 3: Closure
Think how will your customer interact with your pouch after opening it?
- No Closure – For products that are single use or don’t need to be resealed.
- Zipper Closure – Best for products that will be reopened, like coffee, pet treats, or granola.
If your product is not a single use, a zipper closure is what your product needs to improve not only freshness but convenience.
Step 4: Hang Hole
Next is the hang hole. Don’t overthink this one, ask yourself: will the pouch be hanging up in a store, or sitting on a shelf? That answer usually makes the decision pretty easy.
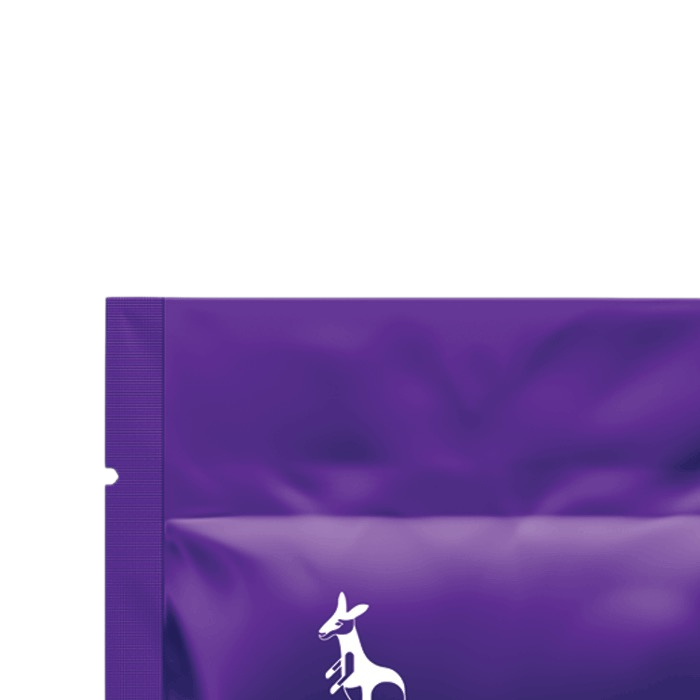
No Hang Hole
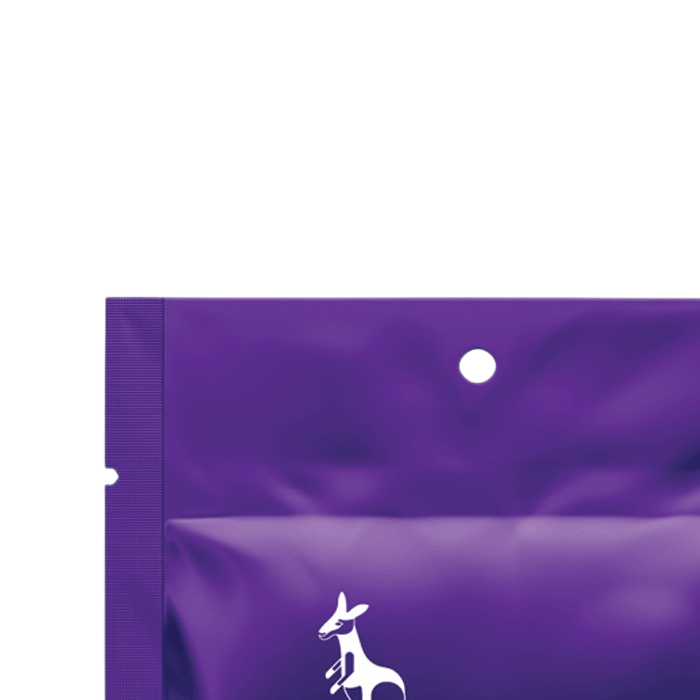
Circle
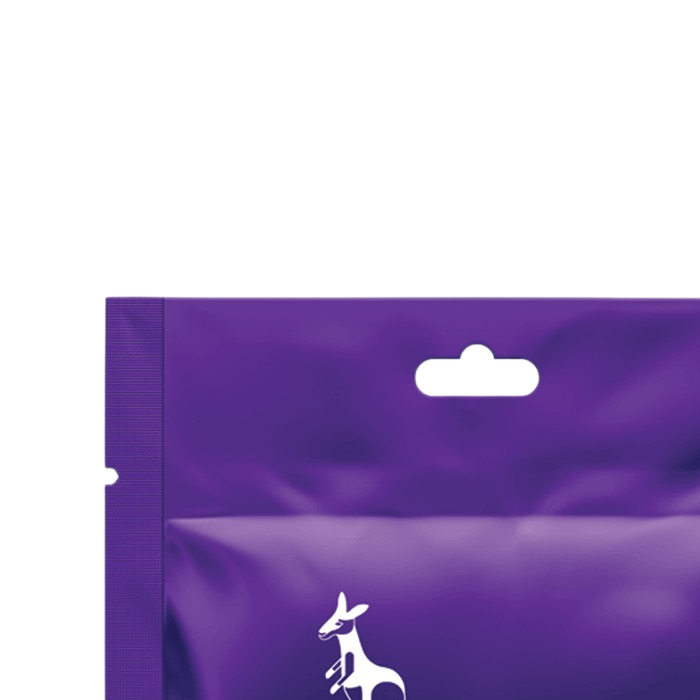
Sombrero
Step 5: Tear Notch
The tear notch is a small feature on pouches that most customers don't even notice...until it's missing.
- Tear Notch: A small indent on either side of the pouch for consumer convenience to open.
- No Tear Noth: Not as common, but used in situations where opening convenience isn’t a priority
Final Thoughts
The packaging world has a lot of terminology, and at first it can feel overwhelming.
The good news is that designing a pouch usually comes down to a handful of decisions:
- Choose your material
- Select a finish
- Decide on a closure
- Add a hang hole if needed
- Include a tear notch for convenience
Once you understand those fundamentals, ordering pouches becomes a whole lot easier.
Every packaging expert started exactly where you are now, trying to figure out what a gusset is.
The important thing to remember is good packaging isn't all about knowing the technical language. It's about creating a pouch that protects your product, represents your brand, and delivers a positive impact on your customer.
So whether you're a first-time pouch designer or just want to understand this world a little bit better, you are already ahead of where you were before you started reading this blog.
Welcome to the packaging world.
Oh, and if you're still unsure of which options are right for your product, we can send you a free sample kit so you can see exactly how our finishes and materials look in real life.